* This post originally featured on the Califabrics blog here
This winter has felt long and especially cold. Full disclosure, I live in Northern California, where “cold” is somewhere between 45-60 degrees. I am fully aware that this makes me a complete and utter cold weather wimp and garners no sympathy from anyone who has to contend with ACTUAL winter. Regardless, I’ve been living in sweaters this “chilly” season. Since spring doesn’t seem to be upon us for good yet, I thought I’d share some tips for sewing up some beautiful sweaters to keep you warm while we wait for the sun.
1. Pick the right pattern
I suppose this is true for basically every fabric type, but man, have I made this mistake with sweater knits. Sweater knits are cozy and beautiful, but don’t always have great recovery. As in, do not treat them exactly like you would a stretchy, springy jersey. You usually have to wash the garment to get it to ping back to it’s original shape. For this reason, stay away from things with negative ease. Some sweater knits can be really heavy as well, and you’ll want to stay away from garments that may have a lot of fabric hanging. If your fabric is on the heavy side, your garment may grow throughout the day. You can get around this to some extent by stabilizing, which we’ll talk about in a second. Sweater knits aren’t usually well suited for highly tailored garments either, so you’ll probably want to avoid patterns with lots of small pieces or lots of seam lines.
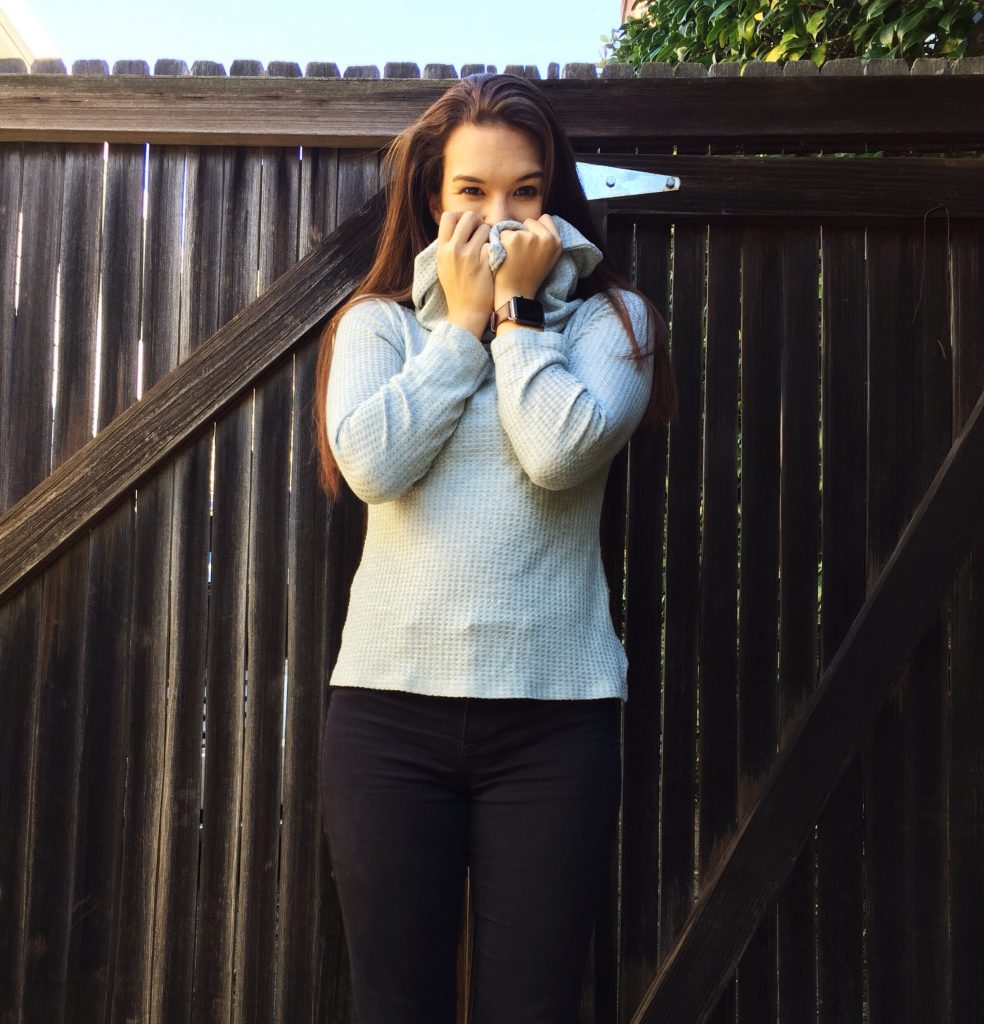
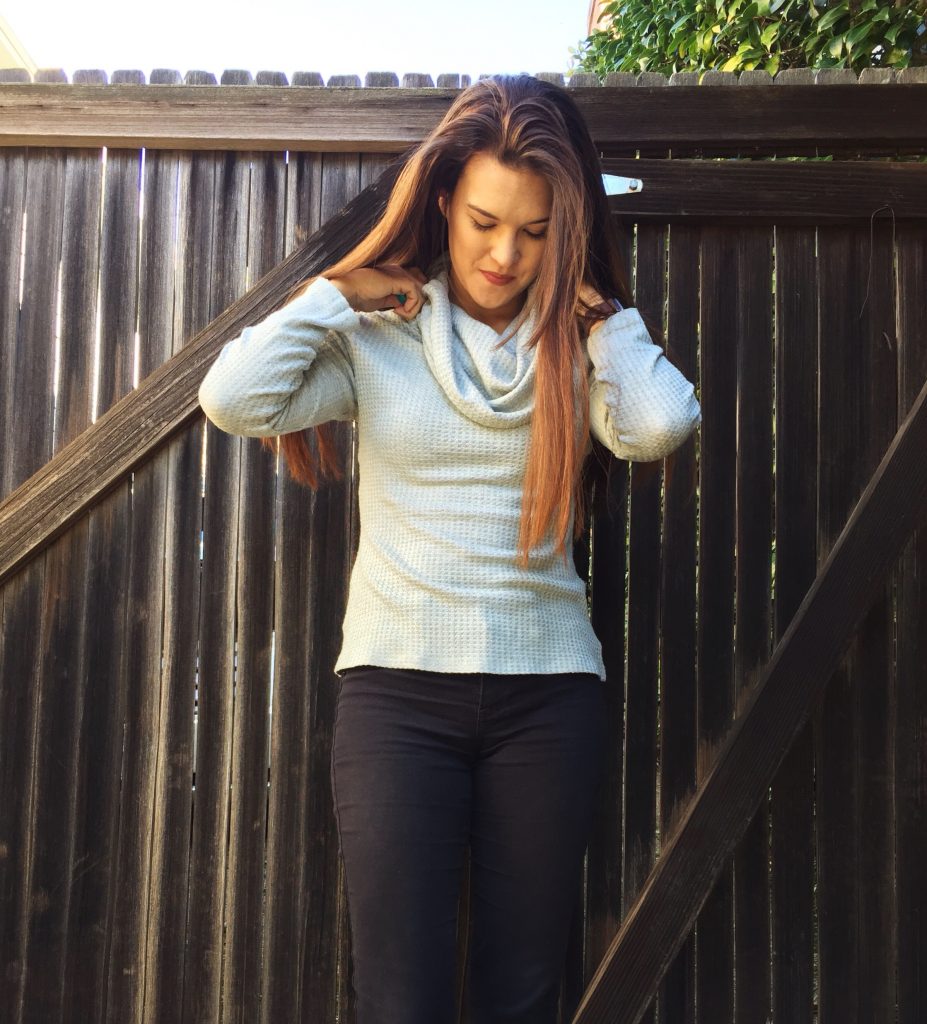
Sweater knits are great for things like simple long sleeve tops with a little bit of positive ease (i.e. things that look like sweaters. Stupidly obvious, but you can’t possibly imagine how many failed garments it took me to realize this). Here I’ve made the Freya Top from Tilly and the Button’s most recent book, Stretch It’s got a bit of positive ease, and the cowl drapes really nicely in this waffle knit from Califabrics. (And here it is in black, white, plum, seafoam-green, dusty coral and teal-grey)
2. Pull, don’t push the line
I remember my grandmother saying this when I was a kid, though I didn’t understand what she meant then. She went to school for fashion design in the 40s and was a gifted seamstress, though I didn’t learn to sew from her. Basically, the idea is that when marking you’re less likely to disrupt the fabric if you’re pulling your line down toward you instead of pushing up and away. Pushing up can stretch and bunch the fabric, and make your tool jump over the bunched fabric, resulting in a bumpy cut or marked line. When I’m marking sweater knits, I always use my disappearing ink felt tip pen, rather than my chalk wheel (which can drag the fabric). And I hold the pen toward the end and gently drag it around my pattern pieces. I don’t use a rotary cutter to cut out my patterns (am I missing out on some magic?) but I imagine this principle is the same. Though it’s probably less important since the wheel won’t drag the fabric much.
3. Cut Flat
Cut on the flat whenever possible. And don’t let your fabric hang off the table. Sweater knits can be really stretchy and sometimes have poor recovery, so you’ll want to handle them as little as possible in the cutting stage. I usually fold up my excess fabric on my table, and smooth out the section I’m working with. This tends to include a lot of flapping the fabric to get it to lay naturally, without artificial stretching. Kind of like when you’re a little kid in PE with the big parachute thing (does anyone else remember that? That was always the best day in kindergarten).
4. Stabilize key areas
Consider where the weight will hang on your garment, or where there’s a bias cut. Make sure to stabilize there. Usually this is shoulder seams and necklines. I also stabilized the top edge of my cowl neck, so it wouldn’t stretch out even more. You can use clear elastic or a bit of ribbon. I often use some twill tape, since it’s what I most frequently have on hand. I usually push it toward the edge of my seam allowance so it gets caught in my serger seam, but doesn’t go past. Takes a little bit of practice on the just serger, but totally foolproof if you baste it in the seam allowance on your sewing machine first
5. Use iron hem tape or wonder tape to stabilize hems
This is the trickiest part of sweater knits for me. My coverstich machine and I are still getting to know each other, and I often have difficulty getting it to play nicely with thin, very stretchy fabric. And the last thing I want on my nearly finished sweater, is to end up with accidental bell sleeves from stretching out the hems. I’ve recently started using either Heat n’ Bond stretch or Wonder tape to do my hems before sending them through the coverstitch, and the extra stability really works a treat. In some cases, the Heat n’ Bond stretch hem tape, might be enough on its own! I haven’t had the heart to go back and hem this sweater with my cover stitch after using the hem tape. It looks so clean and pretty and I don’t want to mess it up!
Bonus tip: storing sweaters
I don’t typically hang sweaters (see: super stretchy/poor recover issue above). But recently I’ve been doing a capsule wardrobe thing and most of my clothes are on hangers right now. I mean, are you even doing a capsule wardrobe if you didn’t go out and buy fancy wooden hangers? But I didn’t want my sweaters to slip off the edges of the hangers and stretch out under their weight. So I actually took a few thick rubber bands and wrapped them around the ends of the hangers. Now my sweaters don’t fall off! You could also wrap rubber bands up higher if you wanted to keep the neckline a bit more in place too.
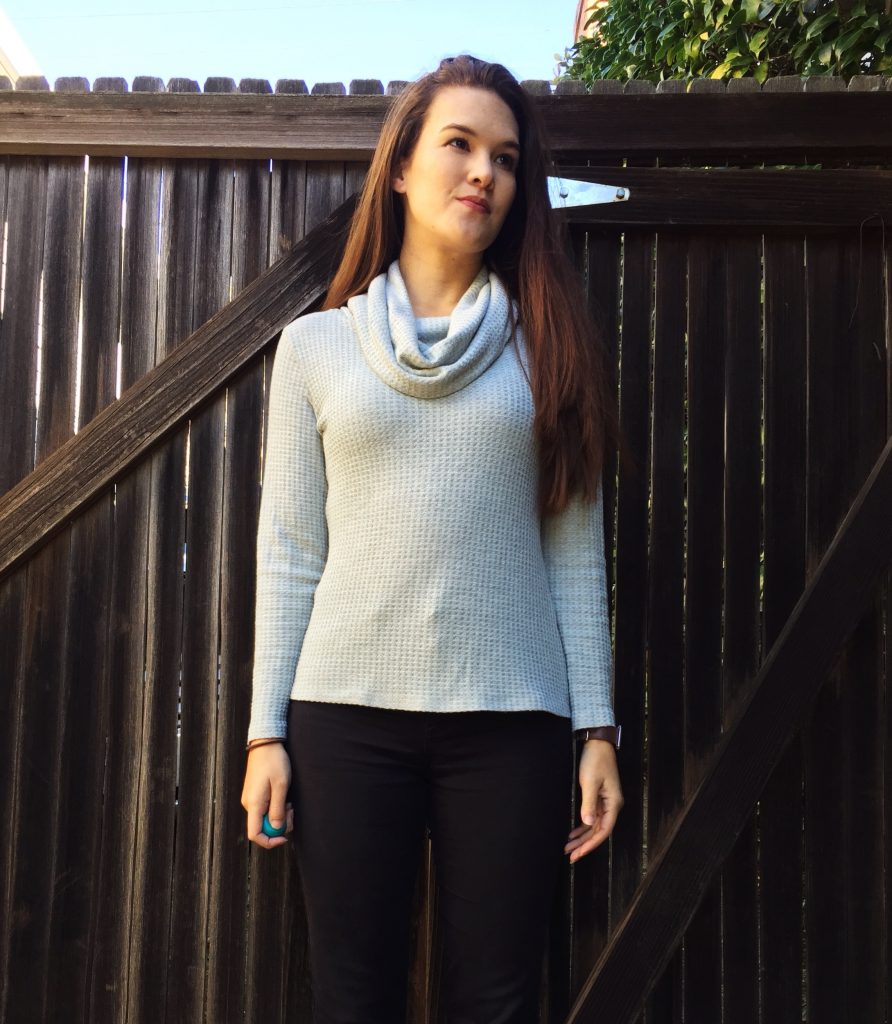
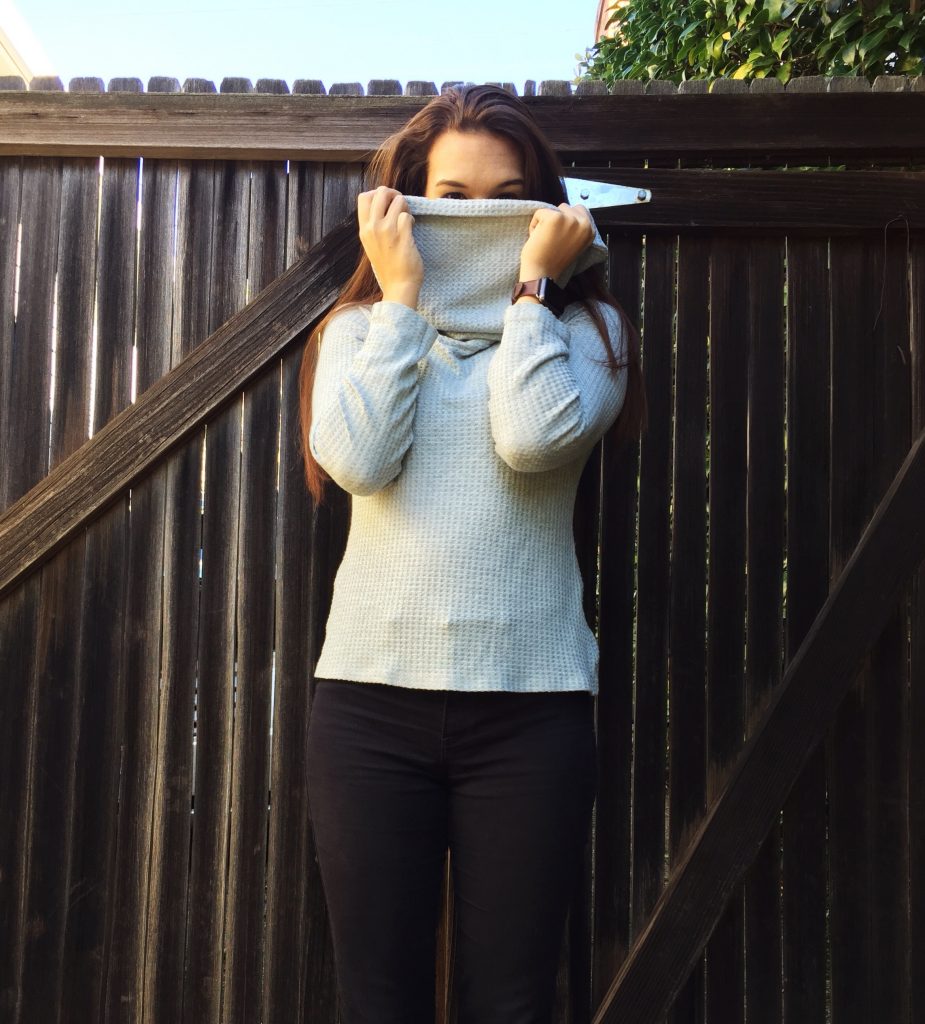
And now for more pictures of my favorite “winter” staple sweater! If you’re looking for some more fabric (and aren’t we all?) Califabrics has a beautiful selection of sweater knits right now, including 7 colors of the waffle knit I used here. I’ve tossed this sweater in the washing machine a few times and it’s showing no signs of wear yet! Pretty sure I need a few yards of every colorway now.
Those are my 5 main tips plus a bonus storage tip! What other tips do you have for working with sweater knit?
Disclosure: This post was written in partnership Califabrics. But I purchased this fabric with my own money and only post about fabrics I love! Califabrics is my main ride-or-die indie fabric shop and I am always down to promote awesome companies like them.